
Why this matters
Agencies often win Shopify projects faster than they can staff them. A client signs, the design is approved, and then the build waits while the team looks for a developer, sorts out store access and chases missing files.
Many agencies solve this with a white label Shopify development partner, a team that builds the store while the agency keeps the client relationship and the brand. It works well, but only when the handoff is clean. A messy handoff can cost more time than the partner saves.
A Shopify store looks simple from the outside. Behind it sit a theme, product data, collections, apps, shipping and tax settings, and a checkout the client cares about a lot. When one piece is missing, the developer stops and waits. Each wait adds a day, and the delay lands on the agency, because the client only sees the agency.
This guide walks through six steps, so the developer can start building on day one and your team doesn’t spend the first week answering questions.
What you’ll need
Before the first line of code is written, gather these items. Many delays come from a short list of Shopify workflow bottlenecks, and most of them can be avoided with a little preparation.
- Approved designs for both desktop and mobile
- Product data in a spreadsheet: titles, descriptions, prices, variants and images
- A list of the apps and outside tools the store must use
- Store access, set up the right way (see Step 2)
- One named contact on the agency side and one on the partner side
- A test checklist your team will use to approve the work
Step 1: Write a one-page scope sheet
List what is included in the build: the page templates (home, collection, product, cart, blog and any custom pages), special features such as filters, bundles, subscriptions or size guides, and the apps involved.
Then add a short “not included” list. This often covers photography, product data entry or moving products over from another platform. When the scope is on paper, a new request is easy to spot and price. Send the sheet to your partner before kickoff and ask them to confirm it in writing.
Step 2: Set up store access safely
The store belongs to the client, so never share the client’s own login. Use a development store while you build, or send a collaborator access request from the client’s account. Give the partner only the permissions they need, and remove access after launch.
This keeps the client’s data safe. It also keeps the white label setup clean, because the partner works through your process and under your name.
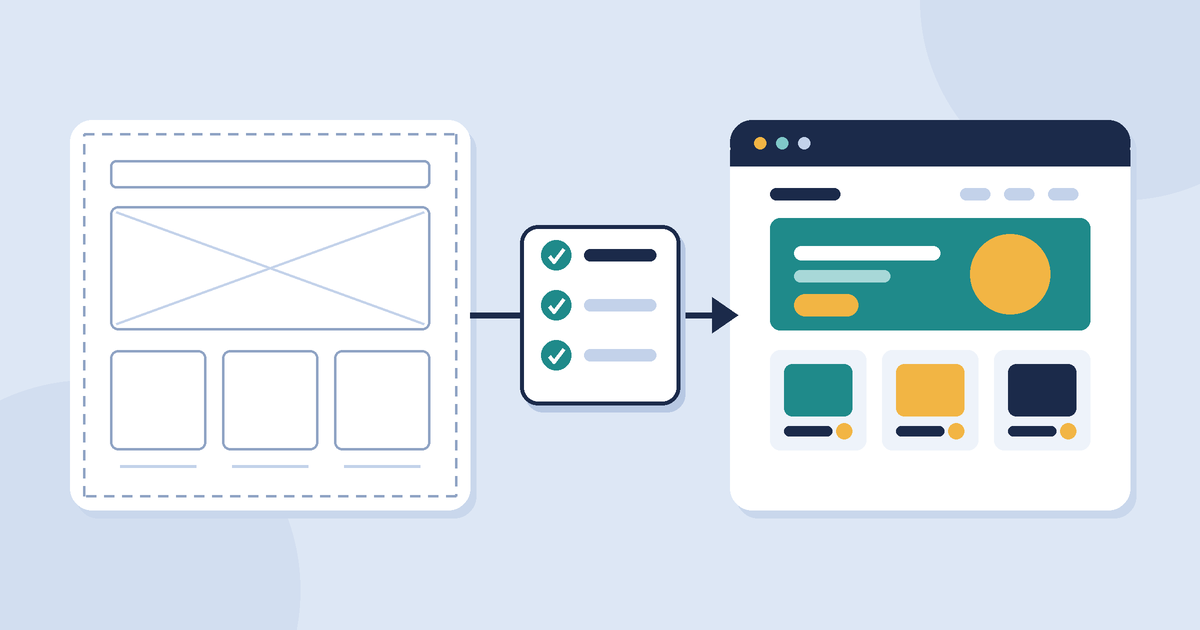
Step 3: Map the designs to Shopify templates
Designers think in pages. Developers think in templates and reusable sections. Bridge the two with a simple map that shows which design frame becomes which template, which blocks repeat across pages, and which parts the client will edit on their own in the theme editor.
Include the mobile designs, not just the desktop ones. If a section has an animation or a special behavior, describe it in words, because a static file can’t show it.
Step 4: Settle apps and integrations early
Apps change how a store is built. A reviews tool, a subscription app or a custom search can each affect page layout and loading speed. Before building starts, decide which apps will be used, who owns each account and who pays for it.
Also list any outside systems the store has to connect to, such as an inventory system, a shipping tool or an email platform. Share test logins for each one, so the developer can check the connection while building instead of at the end.
Step 5: Agree on review rounds and a test list
Decide how many rounds of feedback are included, and how feedback will be sent. One shared document or ticket list works better than scattered emails and chat messages.
Share the test list you will use to approve the work. It should cover browsing collections and filters, choosing variants, adding items to the cart, going through checkout in test mode, and checking pages on real phones. When both sides use the same list, “done” means the same thing to everyone.
Step 6: Plan the launch and handover
Plan the launch tasks in advance. These usually include URL redirects from the old site, a backup of the live theme, final checks on tax and shipping settings, and a short guide so the client’s team knows how to edit pages.
Agree on a short support window after launch as well. Some bugs only appear once real orders start coming in, and it helps to know who fixes them and how fast.
Common mistakes
- Starting the build before product data is ready. The developer works with placeholder items and has to redo pages later.
- Changing scope without a written note. Small “quick additions” pile up, and nobody tracks the time they take.
- Sharing the client’s login. It is a security risk, and it is hard to undo once several people have the password.
- Testing only on desktop. Many shoppers browse on phones, so mobile problems cost sales.
- Treating the partner like a vendor who only receives tasks. When the developer knows the client’s goals, they make better decisions on small details.
What a white label Shopify partner brings
A good partner does more than add developers. It brings experience from many stores, a repeatable process and the ability to take on more work when your pipeline grows.
Agencies use Mavlers Agency to support WordPress, Shopify and Webflow projects as their development pipelines grow. Mavlers Agency supports agencies with white label development when client demand exceeds their existing internal development capacity.
This is different from general outsourcing, where a task is handed to a vendor with little connection to your brand. In a white label setup, the partner works inside your process, and the client deals only with your agency.
“Most Shopify delays are not about code. They come from missing product data, late app decisions and unclear approvals. When the agency sorts those out before the build starts, the developer can focus on the store itself.”
— Nital Shah, Co-Founder
Wrap-up
A smooth Shopify handoff comes down to preparation. Write the scope down, set up access safely, map the designs, settle the apps, agree on testing and plan the launch. Each step takes a short time, and together they save days of back-and-forth.
If you are trying this with a partner for the first time, start with one store and use it to test your scope sheet and test list. Improve both after launch, and the next build will start faster.





Responses (0)